


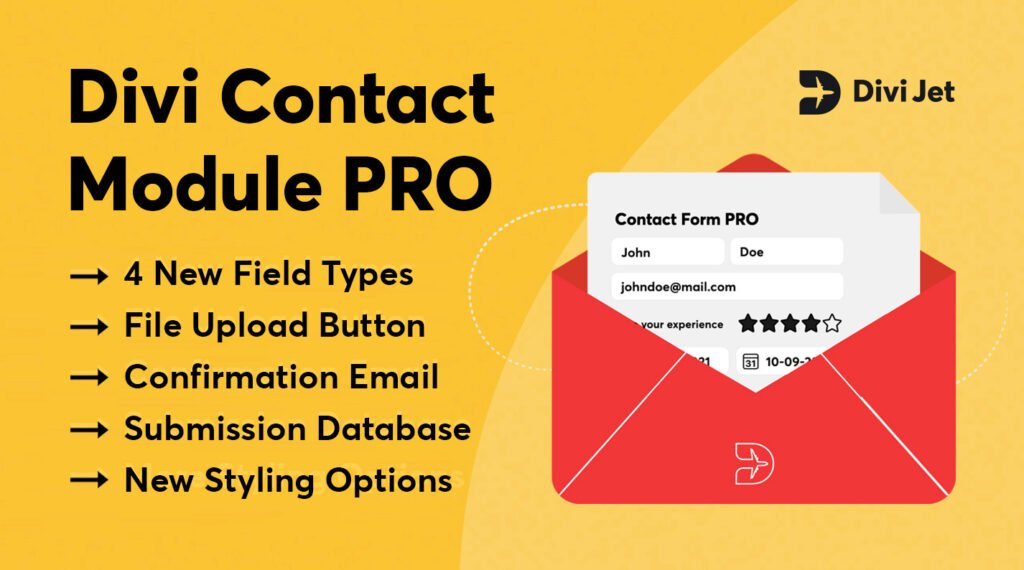
Maybe you want to send your users a copy of their reservation, or just want to let them know you received their message. Unfortunately, this is not a feature that is included in the Divi Contact Module. But, there is a solution! With Divi Contact Module PRO, you can easily send automatic custom confirmation emails to your users. So now you can easily confirm details with your clients, or thank them for submitting the form.
1. Install Divi Contact Module PRO
To enable confirmation emails, you need to install our plugin, Divi Contact Module PRO. You can download this plugin on our download page, by choosing a yearly or lifetime license. Upload the plugin by going in to your WordPress dashboard and by navigating to: Plugins > Add New. Upload the ZIP file provided in the email and activate the plugin.
2. Create a new form (or use an existing contact form)
Divi Contact Module PRO adds the functionality of sending a confirmation email to the existing Divi Contact Form Module. Because of this, you can actually use existing forms you created in the past. If you don’t have a contact form, you can create one using the Divi Visual Builder.
3. Enable the ‘Confirmation email’ feature
When your form is set up and ready to go, we can enable the confirmation email. You can send users a confirmation copy of their submission, which can be quite useful for bookings, reservations, or other types of submissions containing pertinent details or information. To enable the confirmation email feature, open the settings of your contact module and navigate to Content > Email > Enable Confirmation Email.
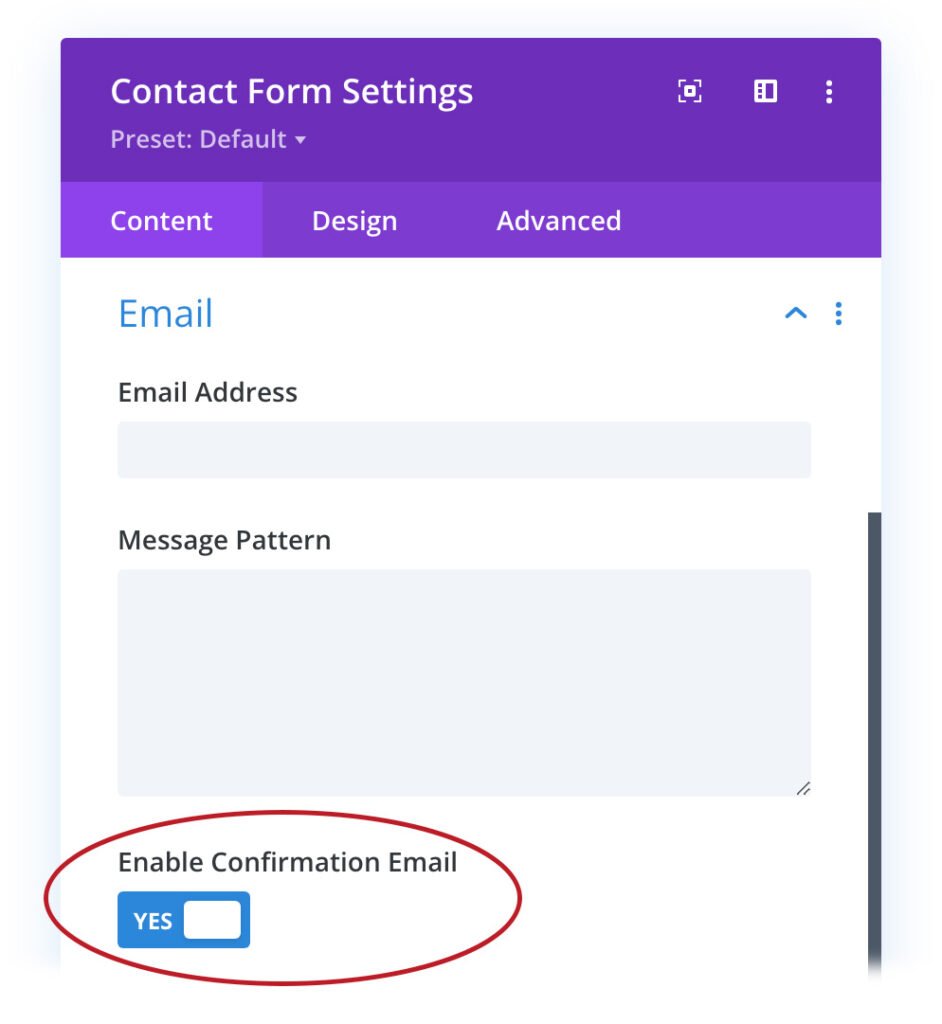
After enabling the confirmation email feature, two fields will appear. First, we can enter an email subject followed by the actual email content. HTML is allowed, so it is possible to create stunning confirmation emails.
4. Use dynamic tags to improve your emails in your confirmation email
You can display field inputs dynamically, such as a user’s name or e-mail. Fields should be included in following format: %%field_id%%. For example, if you want to display the user’s name, create a new field and set the field ID to “name”. To display the user’s name, simply include %%name%% somewhere in the confirmation email.

Issues with sending/receiving emails?
To ensure that email messages sent from your Divi Contact Form module are received correctly, we recommend installing the WP Test Email plugin. This plugin can be used to verify that emails are being sent correctly from your contact forms. If the test email is not received or if it winds up in your spam folder, it is likely that your hosting provider has disabled the PHP mail() function, and you will need to set up your site with SMTP.
Email delivery and spam prevention are complex processes. We recommend using a delivery service such as Mandrill, SendGrid, or other similar services to ensure the deliverability of messages that are submitted through this form. You can read more about setting up a STMP in this guide.
This is very convenient! It’s a shame that this feature is not already in the basic plugin. But I downloaded and installed your plugin and it worked fine.
Thanks for creating this blog post, but also the plugin.
Hi Jelmer,
Thank you for letting us know! We’re glad to hear that this plugin worked out for you 🎉
All the best,
Reinout
DiviJet Support